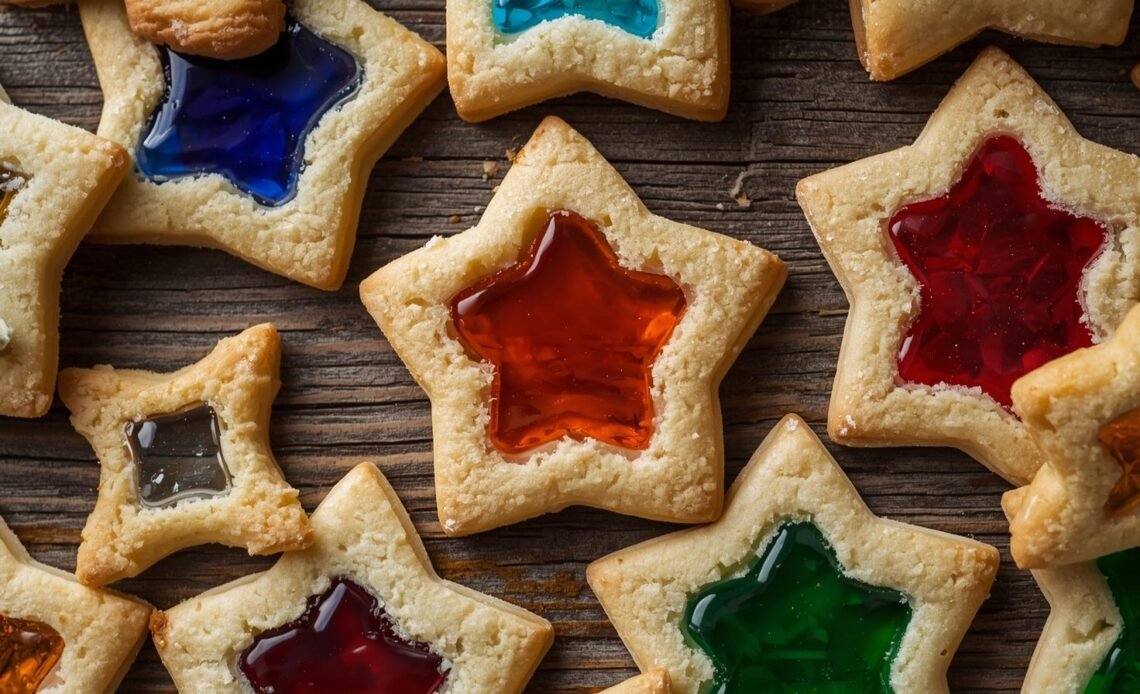
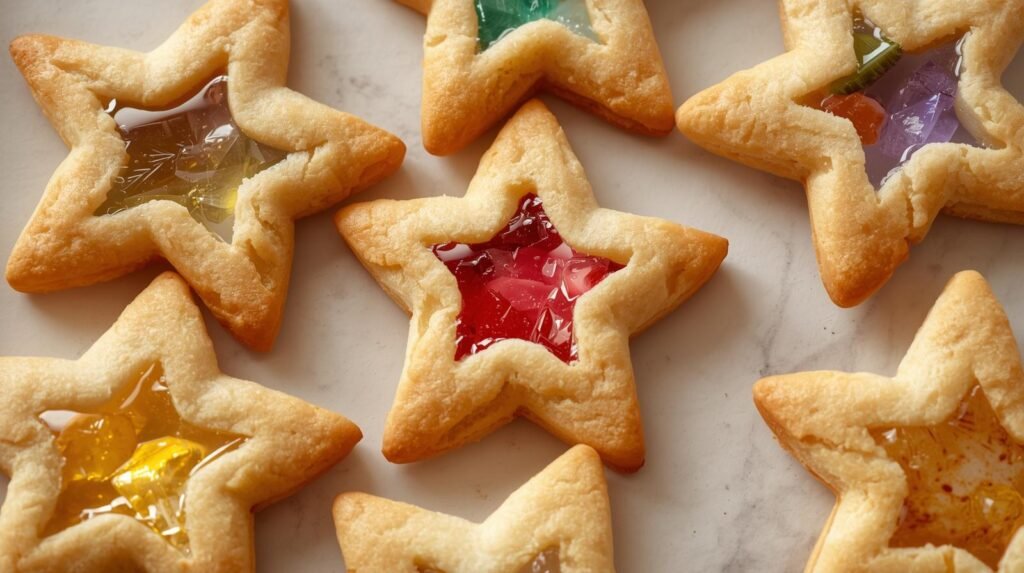
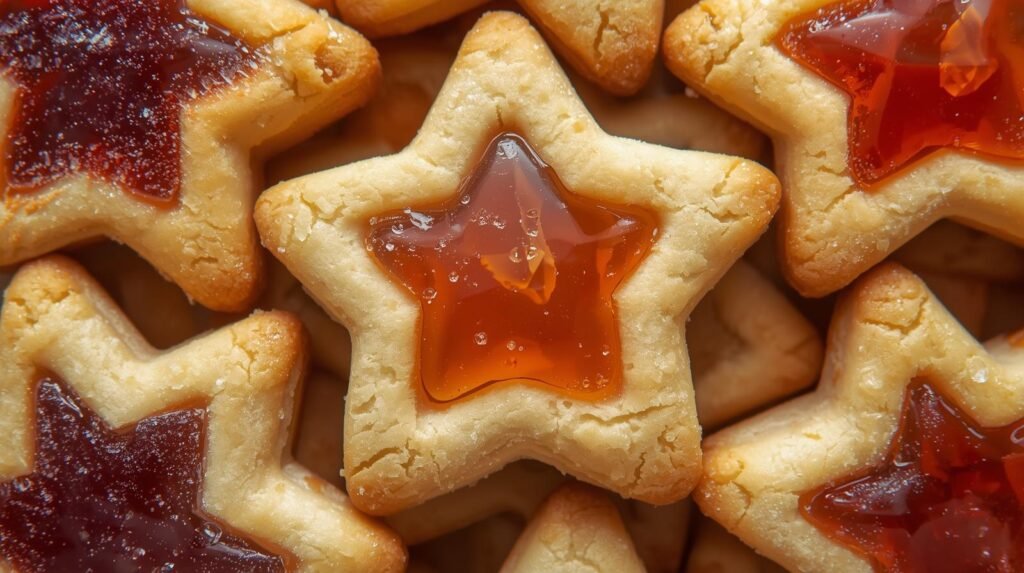
Stained Glass Cookies: A Colorful Holiday Treat

As the holiday season approaches, I find myself reminiscing about the delightful traditions that have shaped our family gatherings. One memory that stands out is the aroma of freshly baked cookies wafting through the house, as my siblings and I eagerly awaited the moment we could decorate them. Among all the cookies we made, stained glass cookies hold a special place in my heart. These vibrant, jewel-like treats not only taste incredible but also bring a burst of color to any desserts table.
Stained Glass Cookies Recipe are a beautiful fusion of buttery sweetness and colorful candy. Each cookie is a canvas, showcasing a unique blend of flavors and colors that can be customized to suit any occasion. I love making these cookies during the holidays, as they make perfect gifts or additions to cookie platters. Friends and family are always impressed by their stunning appearance, and it’s rewarding to see their faces light up when they take a bite.
Whether you’re an experienced baker or just starting, this recipe is straightforward and fun. With a prep time of only 20 minutes and a cook time of 15 minutes, you can create a batch of these delightful cookies in under an hour. Gather your loved ones, and enjoy the process of rolling, cutting, and filling these cookies together.
Prep Time: 20 minutes
Cook Time: 15 minutes
Total Time: 35 minutes
Servings: 4
Ingredients
- 2 ¾ cups all-purpose flour
- 1 teaspoon baking powder
- ¼ teaspoon salt
- 1 cup (2 sticks) unsalted butter, softened
- 1 cup granulated sugar
- 1 large egg
- 1 teaspoon vanilla extract
- ½ teaspoon almond extract (optional)
- Assorted hard candies (such as Jolly Ranchers or Life Savers), separated by color and crushed
- Powdered sugar (for dusting)
- Ribbon or string (if hanging as ornaments)
Instructions
- Preheat your oven to 350°F (175°C) and line a baking sheet with parchment paper.
- In a mixing bowl, combine the flour, baking powder, and salt; set aside.
- In another bowl, use an electric mixer to cream together the softened butter and granulated sugar until light and fluffy (this should take about 2-3 minutes).
- Add the egg, vanilla extract, and almond extract (if using), mixing until fully incorporated.
- Gradually add the dry ingredients to the wet mixture, mixing until a smooth dough forms.
- Roll out the dough on a floured surface to about ¼ inch thick. Use cookie cutters to cut out desired shapes.
- In the center of each cookie shape, cut out a smaller shape (like a star or circle) and fill the opening with crushed hard candies.
- Bake in the preheated oven for 12-15 minutes or until the edges are lightly golden. Let cool on a wire rack before dusting with powdered sugar or tying with ribbon for hanging.
Tips for Success
- To prevent the candies from sticking, use a zip-top bag to crush them.
- Be sure to allow the cookies to cool completely before handling, as the candy will be hot when melted.
- If making ornaments, puncture a hole with a straw before baking for easy hanging.
Recipe Science
The technique of using hard candies to create the stained glass effect relies on the melting and hardening properties of sugar. As the cookies bake, the crushed candies melt into a vibrant, glass-like filling that hardens as the cookies cool. The combination of buttery dough and sweet, colorful candy not only offers a delightful taste experience but also a visual one, making these cookies a true centerpiece for any gathering.
Serving Suggestions
Stained glass cookies are perfect for holiday parties, family gatherings, or as a sweet gift for neighbors. They can be beautifully displayed on a festive platter or hung as ornaments on a Christmas tree. These cookies are best served at room temperature, allowing their colors to shine and flavors to be fully appreciated.
Storage & Leftovers
Store your stained glass cookies in an airtight container at room temperature for up to one week. If you need to keep them longer, consider freezing them. Layer the cookies between sheets of parchment paper in a freezer-safe container; they can be frozen for up to three months. When ready to enjoy, allow them to thaw at room temperature.
Frequently Asked Questions
Can I use different types of candy?
Absolutely! Feel free to experiment with various hard candies to create different colors and flavors. Just ensure they are hard candies that melt well.
What if my cookies spread too much while baking?
If your cookies spread excessively, it may be due to the butter being too soft. Make sure your butter is softened but not melted, and chill the dough for about 30 minutes before rolling it out.
Can I make these cookies gluten-free?
Yes, you can substitute all-purpose flour with a gluten-free blend that measures cup-for-cup. Ensure that the blend includes xanthan gum for proper structure.
How can I make these cookies dairy-free?
To make dairy-free stained glass cookies, substitute the unsalted butter with a dairy-free butter alternative or coconut oil in equal proportions.
Can I prepare the dough in advance?
Yes, you can prepare the dough ahead of time. Wrap it tightly in plastic wrap and refrigerate for up to three days, or freeze for up to three months. Thaw in the refrigerator before rolling out.